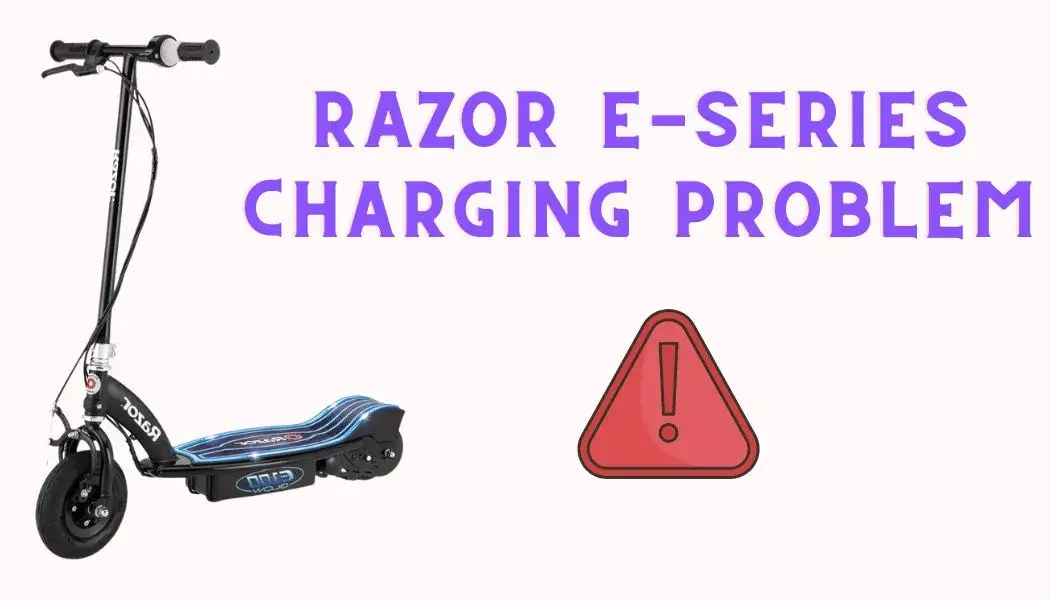
Navigating the landscape of Razor scooters often involves grappling with common battery and charging issues, a familiar challenge for users.
This article aims to unravel the intricacies of these prevalent problems, delving into potential scenarios and offering step-by-step troubleshooting solutions. Beyond problem-solving, I’ll illuminate crucial charging guidelines, delve into battery safety practices, and provide additional tips to extend battery lifespan.
Check out this All-Rounder Scooter as a Replacement!
EMOVE Cruiser S Electric scooter
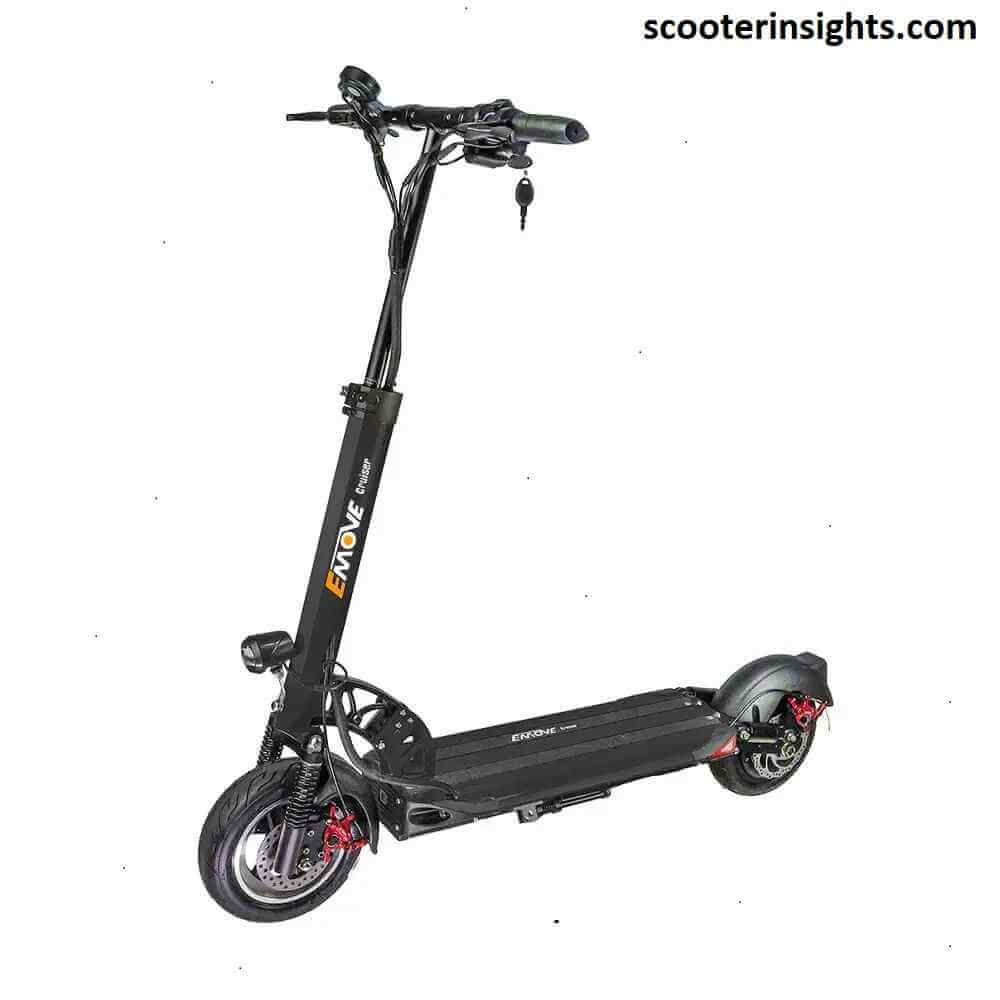
Value For Money, Affordable, Convenient & Very Customizable. Long Range & Security Concerned!
33 mph Top Speed, 62-mile Range, 56 lbs, max load 352 lbs, IPX6 Water rating, Foldable, Hybrid Hydraulic brakes, tubeless tires, LCD Display, Key Start ignition, Turn signals, Custom Throttles, Plug-and-Play cabling, 9-12 hours Charge Time.
Use Coupon Code “SCOOTERINSIGHTS” for Free DISCOUNT !!
Table of Contents
Charging Guidelines for Razor e-scooter
Check to see that your charger is connected properly to the vehicle charging port. Line up the notch in the charger plug with the notch in the charger port and plug into the charger port.
Charge for a full 8 hours.
According to 2023 Razor USA LLC. “General Razor battery questions” <https://razor.com/>
However the manufacturer says 8 hours, I would suggest that you keep the charger connected for 24 hours to get better conclusions. Also, the charging time varies between 8-12 hours in various models.
Understanding Battery Safety
Lead acid batteries, found in Razor scooters, require periodic charging, even during periods of non-use. Always charge them after 3-4 weeks when not using the scooter. It’s essential to note that these batteries can be adversely affected if left uncharged for an extended period.
Moreover, the impact of storage conditions on battery health cannot be understated. Storing the scooter in freezing temperatures can lead to irreversible damage to the battery. Therefore, it’s advisable to keep the scooter in a moderate environment during storage.
Razor Scooter Not Charging – Exploring Common Scenarios & Issues
There are possibly three scenarios when the Razor scooters are not charging. The charger light is red, green or flickering, even when the battery is not charging.
Red Light:
Investigate both the battery and the charger for potential faults.
Flickering Red and Green Lights:
Thoroughly examine both the battery and charger for signs of malfunction.
Green Light But Not Charging:
Try resetting the scooter. If issues persist, consider checking the battery, fuse, reset button or replace the battery itself.
Troubleshooting Steps & Solutions to the Issues
Below I have written troubleshooting steps of the three scenarios to resolve the issues.
1. Inspect the Charger
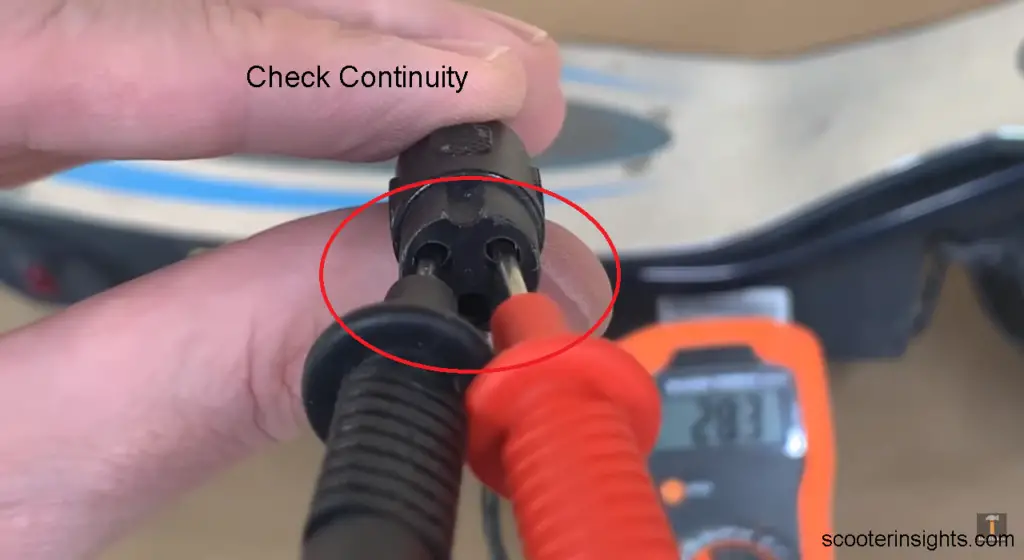
- For confirming the working of the charger, test the continuity in the charging connector pins.
- Check continuity in the two pins having a silvery color inside.
| Check out this 36W, 24V charger for Razor if yours isn’t working. |
2. Reset the Scooter
- Press and hold the reset button for 5 seconds, located on the side of the deck. It is located just beside the On/Off button.
3. Inspect the Fuses & Reset Button
- Unscrew the scooter deck to access internal components.
- Remove the battery bar screws to reveal the reset button.
- Remove the wires connecting the pins of the reset button
- Check the 20-amp reset button for continuity using a multimeter, by connecting its ends to the pins of reset button. If it is expired, replace it.
- Some higher models of the Razor have a 30-amp fuse, try replacing it too.
| If you want to replace the reset button, check out these 7A, 20A and 30A reset buttons according to your Razor model |
| 20Amp reset button |
| 7Amp Reset button |
| 30Amp Fuse |
4. Check Charger Port
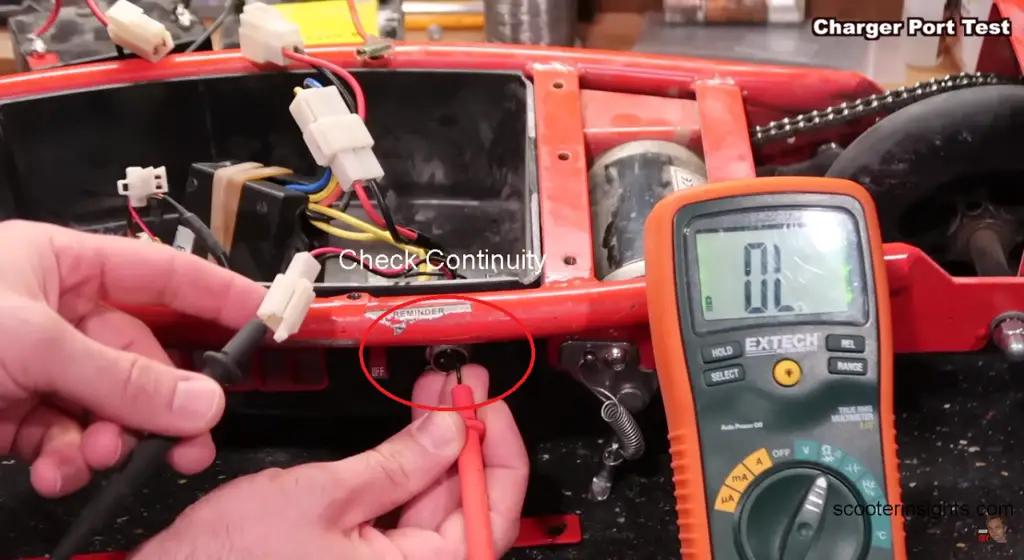
- Examine the 3 pins in pairs of any 2 pins one-by-one. There should be continuity in them.
5. Troubleshooting Batteries
- Grab the multimeter. Disconnect the two wires (red and black), coming from the batteries.
- Connect them with the multimeter. It should read between 24-26V.
6. Add Distilled Water to Batteries
- For lead acid batteries, regular maintenance involves adding distilled water.
- Remove the upper cover and six rubber covers to access battery cells.
- Adding distilled water helps in maintaining optimal electrolyte levels.
7. Replace the Batteries
If nothing else works, replace the batteries.
- Unscrew the scooter deck to access internal components.
- Remove the battery bar screws to remove the batteries.
- Replace them with new genuine batteries.
| Check out these battery replacements for Razor Scooter.
— 12V(*2 ), 24Ah Dual Batteries Replacement for Razor E100/125/150/175.
— Casil 12V 7.2Ah Razor Battery Replacement Compatible with Razor Battery E200/300
8. Replace the Controller
If all else fails, try replacing the controller. Although to be clear, the Razor scooters do not have controller issues in common. The controller won’t operate when the voltage supply is not consistent or healthy, so you should check other connections and components first.
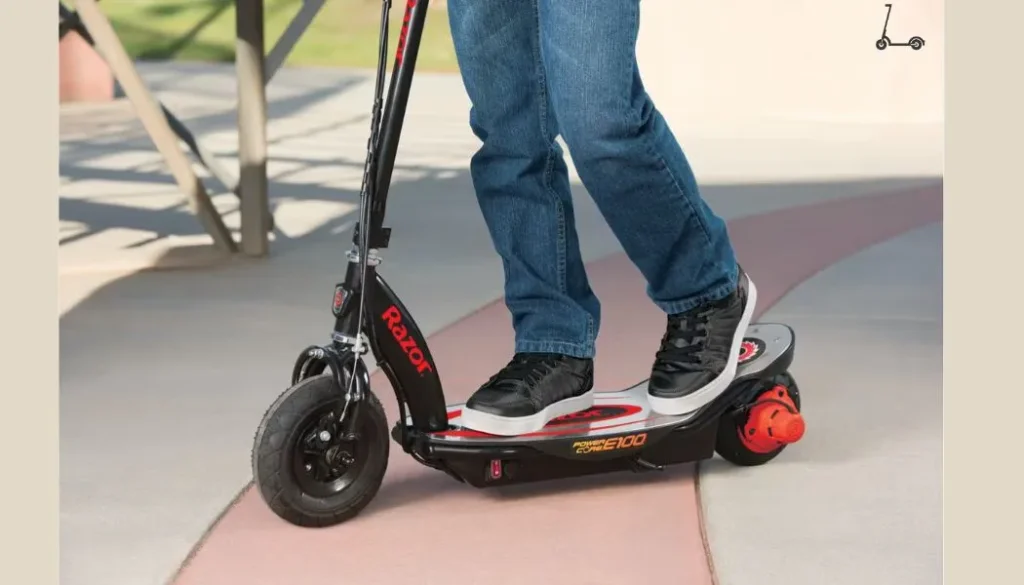
Where can I get Replacement Parts?
Securing replacement parts for Razor scooters is a breeze with websites like electricscooterparts.com, offering genuine components such as reset buttons, batteries, fuses, and controllers.
The straightforward process of replacing these parts makes maintenance hassle-free, even for those with limited technical skills. With user-friendly designs and clear instructions provided by these platforms, scooter owners can effortlessly keep their electric rides in optimal condition.
Advanced Tips for Maximizing Battery Life
Beyond the basics, here are some advanced tips to enhance the lifespan of your Razor electric scooter battery:
A. Avoid High Temperatures
High temperatures can accelerate battery degradation. Store your scooter in a cool place when not in use.
B. Optimal Charging Practices
While frequent charging is recommended, avoid overcharging, as it can lead to heat buildup and reduce battery life.
C. Invest in a Quality Charger
Using a charger with the correct voltage and amperage is crucial for battery health.
D. Regular Inspections
Periodically inspect the scooter for loose connections, damaged wires, or any signs of wear and tear.
E. Consider a Battery Tender
If storing the scooter for an extended period, invest in a battery tender to maintain a steady charge without overcharging.
Conclusion
In conclusion, navigating the charging challenges of Razor scooters require a blend of troubleshooting finesse and proactive maintenance. By addressing common charging issues and providing practical solutions, this guide empowers users to keep their scooters running seamlessly.
The insights into charging guidelines, battery safety, and advanced tips offer a holistic approach to prolonging battery life even after resolving issues.
FAQs
-
What should I do if my Razor scooter isn’t charging, and the charger light is red?
Investigate both the battery and the charger for potential faults. Ensure proper connections and troubleshoot accordingly.
-
How do I address flickering red and green lights on my Razor scooter charger?
Thoroughly examine both the battery and charger for signs of malfunction. Check connections, and if issues persist, consider further inspection or replacements.
-
My Razor scooter shows a green light but isn’t charging. What steps can I take?
Try resetting the scooter, and if problems persist, inspect the battery, fuse, reset button, or consider replacing the battery itself for optimal charging.
-
Where can I find genuine replacement parts for my Razor scooter?
Securing replacement parts is easy with websites like electricscooterparts.com, offering authentic components such as reset buttons, batteries, fuses, and controllers for hassle-free maintenance.
I’m Arsalan Ahmed, a passionate electric scooter enthusiast and the voice behind this blog. I’m here to share my expertise and insights with you. From in-depth reviews to problem-solving guides, my goal is to help you make the most of your electric scooter experience.



1 thought on “Razor e-Scooter Not Charging [Fixing Common Issues]”