Written by Ken Marshall
 Audited by Admin
🔍 72+ Products Analyzed
★ 14k Reviews Evaluated
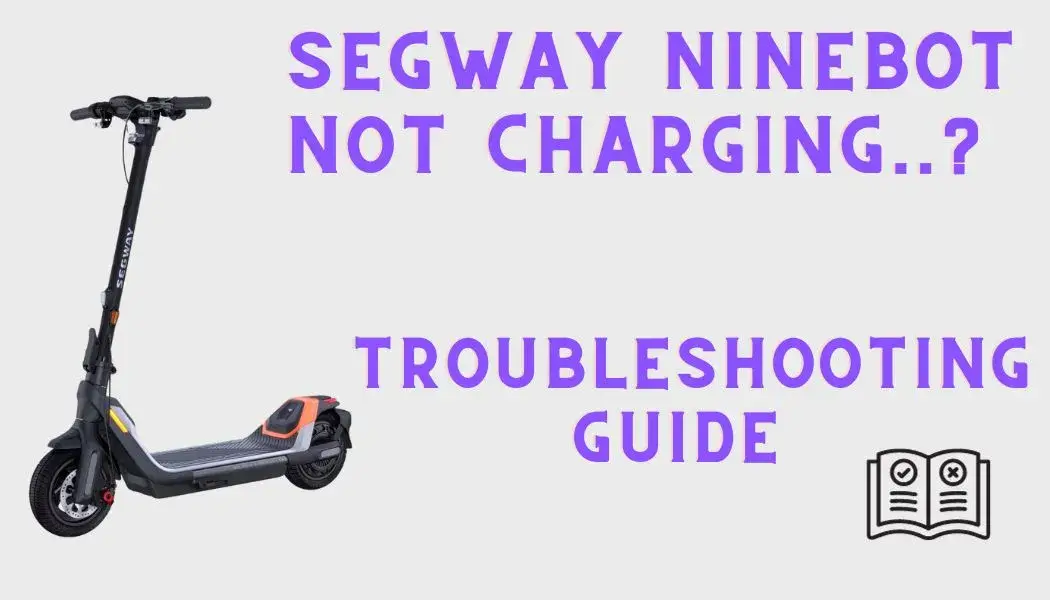
Owning a Segway Ninebot is an exhilarating experience, but encountering charging issues can be frustrating. If you find that your Segway Ninebot is not charging properly, there are several potential causes and solutions to explore.
In this guide, I will uncover 7 potential causes, their relations to the charger light, and solutions to these issues in a systematic approach. The problems and solutions are researched thoroughly with user experiences so they will probably be significant.
Check out this All-Rounder Scooter as a Replacement!
Coupon Code Discount !
EMOVE Cruiser S Electric scooter
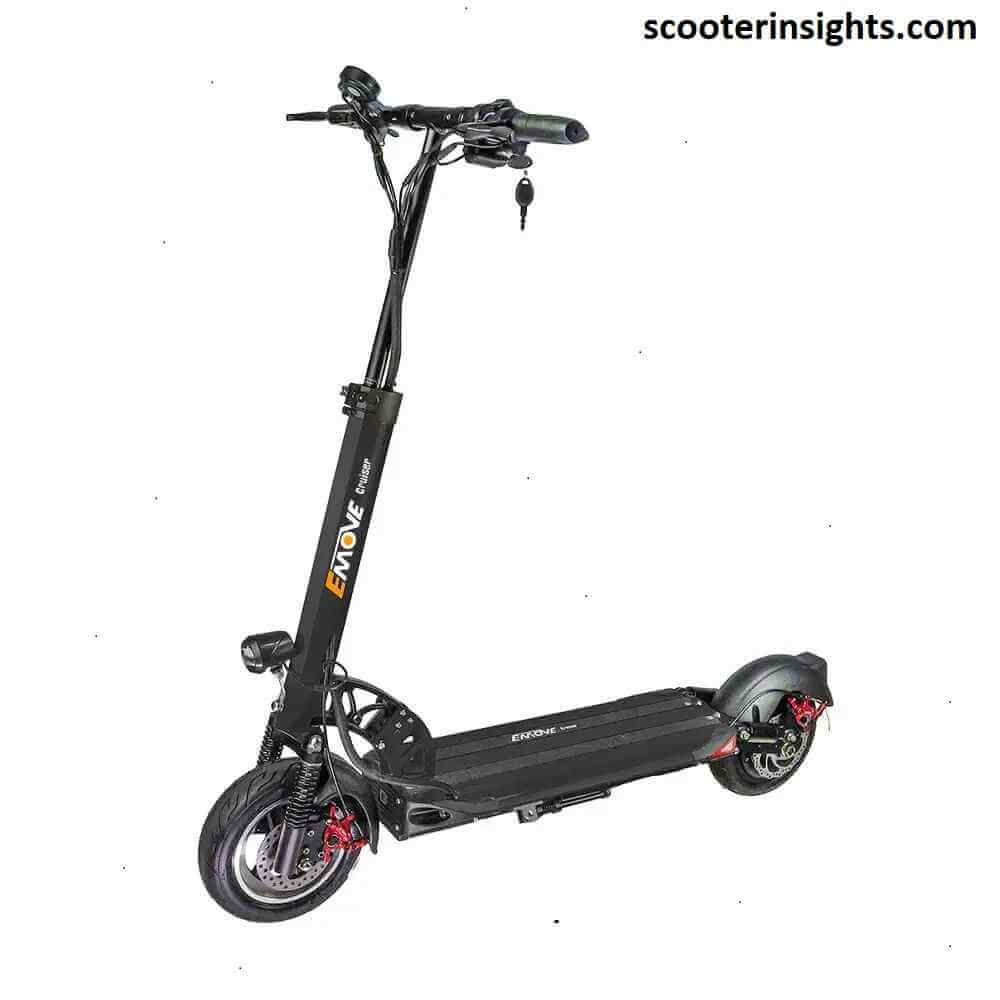
Value For Money, Affordable, Convenient & Very Customizable. Long Range & Security Concerned!
33 mph Top Speed, 62-mile Range, 56 lbs, max load 352 lbs, IPX6 Water rating, Foldable, Hybrid Hydraulic brakes, tubeless tires, LCD Display, Key Start ignition, Turn signals, Custom Throttles, Plug-and-Play cabling, 9-12 hours Charge Time.
Use Coupon Code "Flat45" for Free DISCOUNT !!
7 Common Causes of Segway Ninebot not Charging
Some common causes of the problem are:
- Bad contact
- Charger not working
- Poor connection of the handlebar cable to the scooter
- Charging Port to Battery connections and wire issues
- BMS interference and faultiness
- Bad or dead battery cells
- External battery's bad connection with internal battery
1
Segway-Ninebot External Battery Pack for ES1/ES2/ES4 Electric Kick Scooters
2

54V 4.4Ah Rechargeable Replacement Battery for Segway Ninebot S Black/White & Ninebot Mini & Ninebot MiniPRO 2 & Ninebot S2(4 Pin Unit)
3

BCMGJFN 54.8V 6000mah/ 7500mah, 3pin/ 4pin Battery Pack, Compatible for Ninebot Mini Balance Car, Compatible for Segway Self Balancing Electric Vehicles(54.8V 4pin 6000mah)
4

36v Rechargeable Battery Replacement for The Segway Ninebot MAX G30P & MAX G30LP & MAX G30D Electric Kick Scooter(15.3Ah)
5

54v Rechargeable Battery 4.4AH for Segway Ninebot S2 & Ninebot S Black/White & Ninebot Mini & Ninebot Mini Pro2 Replacement Battery(4 Pin Unit
6
36V Rechargeable Battery Replacement for Segway Ninebot ES1 ES2 ES4 E22 (5200mAh External Rechargeable Battery)
7

36V Rechargeable Battery Replacement for Segway Ninebot ES1 ES2 ES4 E22 (6600mAh Internal Rechargeable Battery)
8

PAOWANG 36V 6600mAh Internal Rechargeable Battery Pack Replacement for Segway Ninebot ES1L ES1 ES2 ES4 E22 Electric Kick Scooters
9

ABCTOY 54V 4.4Ah Rechargeable Replacement Battery for Segway Ninebot S Black/White & Ninebot Mini & Ninebot MiniPRO 2 & Ninebot S2(4 Pin Unit)
10

MLGBDC 54V Rechargeable Replacement Battery for Segway Ninebot Mini & Ninebot Mini pro2 & Ninebot S2(54V,4.4Ah)
Charger Light as a Deductive Factor
The ninebot scooter's charging problems' main sign is of course not charging when plugged in for hours, but another factor can also help us to deduce some conclusions about the issues causing improper charging.
The factor is the light of the charger, whether it blinks red or green. This factor will be used below to help you understand the problem.
These are worth a second look Yose Power Coupons.
Troubleshooting & Resolving Charging Problems
1. Checking for Bad Contact:
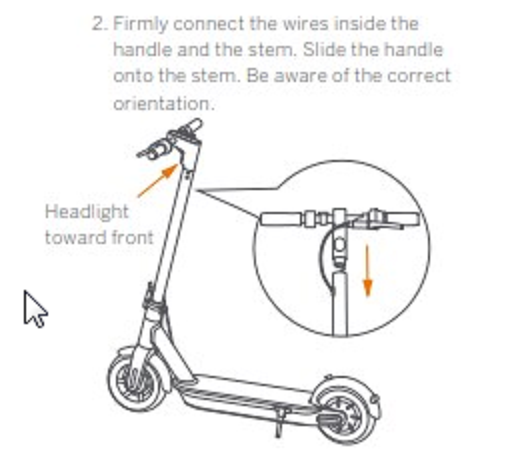
Re-plug the connection on both sides of the charger to ensure a secure and stable connection. Reconnect the connection between the handlebar cable and scooter (especially in the case of models having battery inside stem.)
Bad contact between the charger and the vehicle can hinder the charging process. A simple reconnection may resolve the issue.
2. Verifying Charger Functionality & Understanding Charger Indicator Colors:
Check if the charger's indicator light is green when plugged in but not connected to the scooter. If the light is off, contact after-sales service. Also try using an alternate charger with external brick if the charger with internal brick was being used before (and vice versa.)
A malfunctioning charger could be the culprit. A properly functioning charger should display a green light when not in use.
If the charger's indicator light is green during charging but the scooter doesn't charge, it may indicate a fault in the battery, BMS or the connections.
A discrepancy between the indicator color and the charging status may suggest issues with either the charger or the scooter's charging port.
3. Lock Mode and Firmware Updates:
Turn off Lock Mode before charging and regularly update firmware.
Recommended for you VIVI eBikes Promo Code, MarkShop Coupons.
Lock Mode may interfere with charging, and firmware updates can address potential software-related issues.
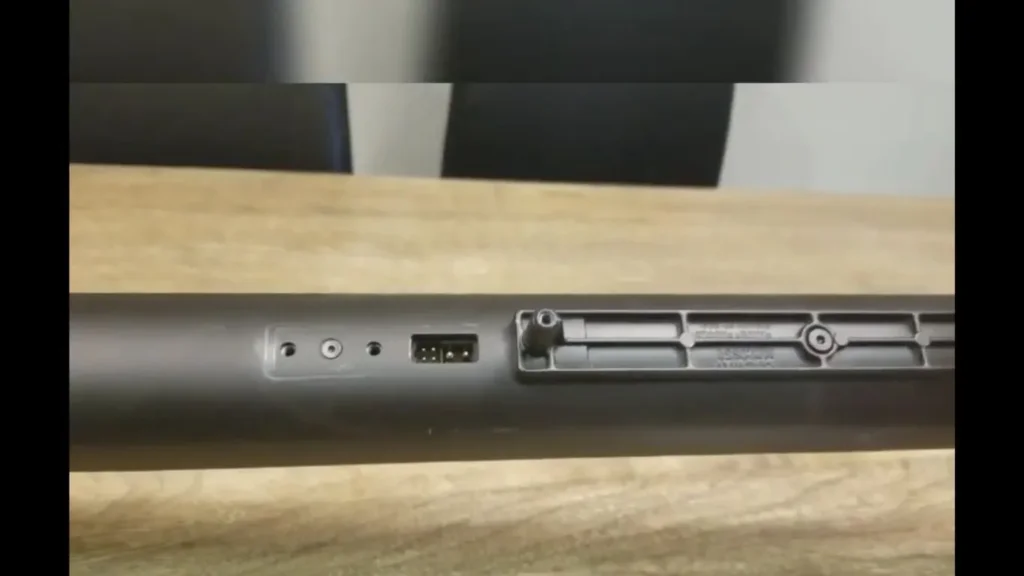
4. Checking Wire Connections between Charging Port & Battery:
Use a multimeter to check wires for continuity, ensuring a functional connection between the charging port and the battery. Multimeter checks help identify potential issues with wiring and connections. Connect one end of multimeter with the charging port and the other one with the battery.
5. Temperature Considerations & Main Board ( or BMS ) Failure:
Avoid charging immediately after riding, as the battery may be too warm. Allow the scooter to cool down before initiating the charging process. Battery Management Systems (BMS) often require optimal temperature conditions for effective charging.
If the charger stays green and the scooter does not recognize it, the Main Board's battery charging component or the BMS may have failed. Replace the Main Board with a new or known-good used one to restore proper charging functionality.
More importantly, if the charging is stuck at 70 or 80%, or any other level, this indicates a potential issue with either BMS or the battery cells. Use the Ninebot flasher app to flash and reset the Battery Management System (BMS) if charging issues persist. Resetting the BMS can resolve software-related charging anomalies.
Scroll for better options Eskute Discount Code, and Heybike Promo Code.
6. Software and Physical Battery Cells Inspection:
Particularly when the charger is giving red light for a long time, its time to check the battery themselves.
Use the "nine dash" app on Android to connect to your scooter. Check battery information, specifically the "cells" section.
Connectivity and software issues may affect charging. The app can provide insights into battery health and any potential discrepancies.
Check individual cell voltages using M365 Tools. Ensure all cells have similar voltages. Variations in cell voltages may indicate a faulty cell, affecting the overall battery performance.
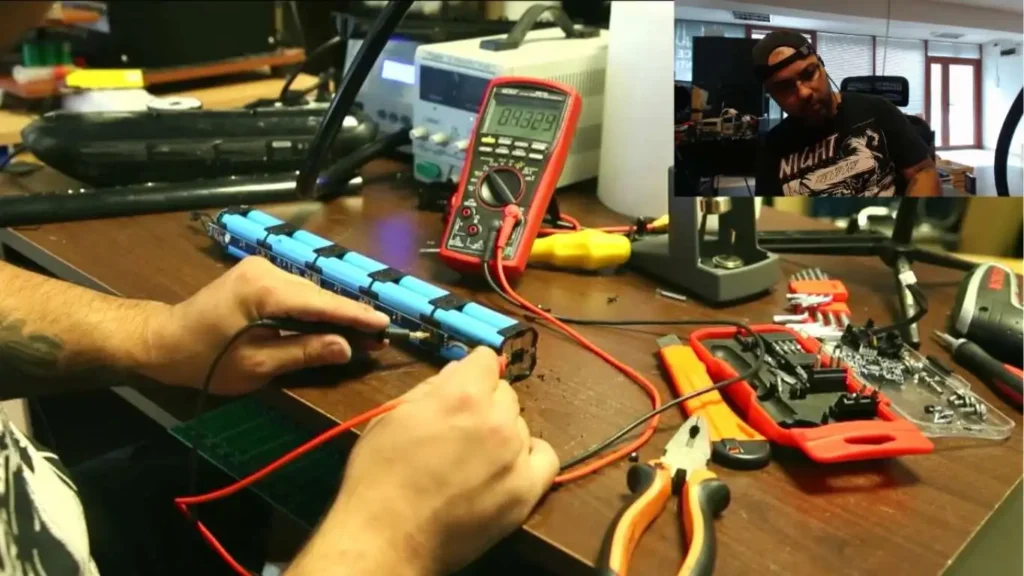 Physically, inspect each cell for defects using a multimeter after opening the scooter. Defective cells may not hold a charge, leading to charging problems. Identifying and replacing faulty cells can resolve the issue.
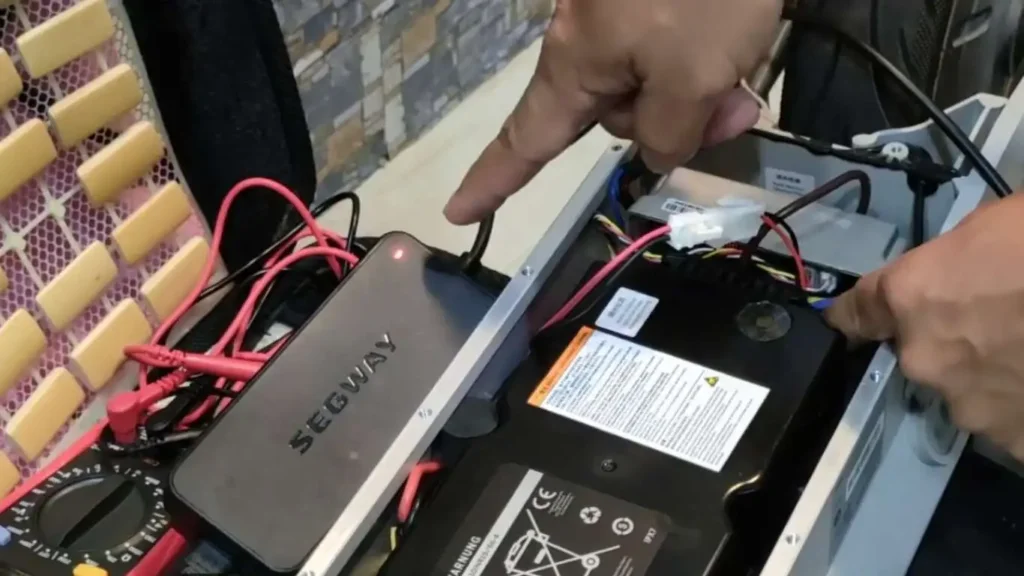
7. Checking External Battery & Its Connection:
Ensure a tight connection between the external battery and the scooter. Check the charging board and Battery Management System (BMS) for loose connections. Also, check the working of the internal battery by removing the external one and directly plugging to the internal battery.
If the internal battery charges independently, the issues is with the connection between the batteries. This problem is common in some Ninebot scooters.
 For models with external batteries like the ES, E22 etc , a secure connection is vital for effective charging.
By systematically exploring these causes and solutions, you can enhance the chances of identifying and rectifying the charging issues with your Segway Ninebot, ensuring a seamless riding experience.
Check out this replacement battery!

See Also-How Long does a Segway Ninebot Battery Last?
Conclusion
In conclusion, systematic troubleshooting is essential for resolving Segway Ninebot charging issues. Identifying causes like bad contacts, charger malfunctions, and wiring problems is crucial. The charger light helps pinpoint battery, BMS, or connection issues. Real Segway Deals updated today.
Verifying charger functionality and addressing lock mode contribute to effective problem-solving. Ensuring a secure connection between internal and external batteries is vital for resolving charging issues of ninebot scooter and maintaining a seamless riding experience.
See Also-9 Tips to Make Your Segway Ninebot Faster - Unlock the True Potential
ABOUT THE AUTHOR

Ken Marshall
Author
Ken “Magma” Marshall is currently the CSO and a Partner at RevenueZen, with 4 exits under his belt. He’s been obsessing over helping brands grow through sustainable SEO & content strategies for the last 8 years. Husband, coffee addict, recovering foodie, BJJ bro, and mini Australian shepherd puppy dad. Helping folks build their dreams is my passion.